Part 2: Resizing (this)

Hello darlings! Welcome back to my comprehensive crash-course in t-shirt reconstruction!
In Part 1, I gave you some tips and tricks for reconstructing t-shirts, from picking what kind of reconstruction you want to do, to what t-shirts you should choose, to how to sew the stuff. If you haven't looked at it yet, I would recommend you go back and read it real quick, just as a quick refresher on how to manipulate this knit material.
Now, in Part 2, I'm going to take you through six different methods for resizing a t-shirt.
Ready? Click "Read More"...
Probably the most standard and well-loved method for resizing a huge t-shirt is to simply sew up the sides and along the sleeves. That's what we're going to start with.
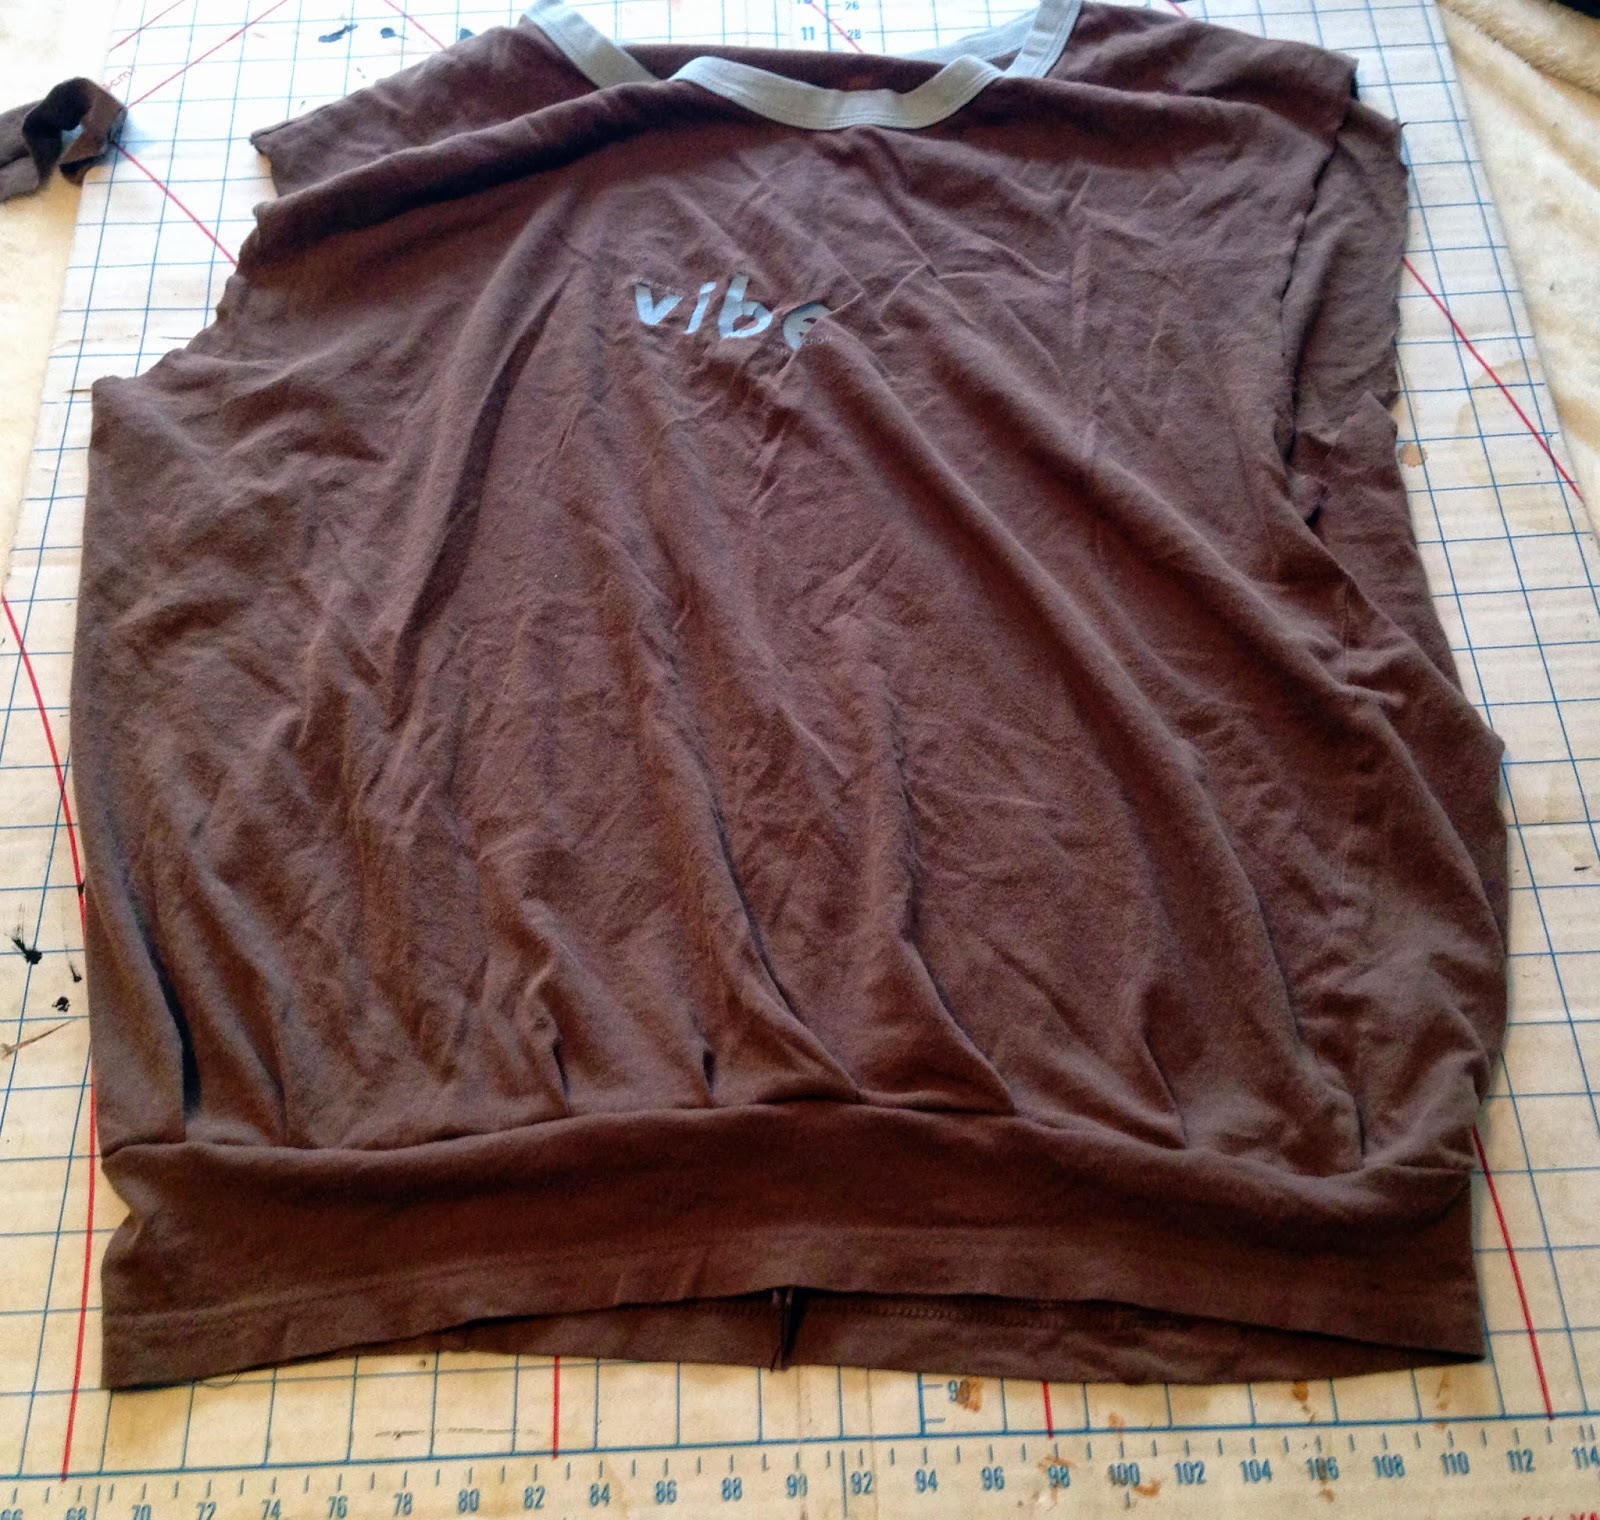
Take your giant-ass shirt and lay it down. Note: I screwed this one up right off the bat, of course - you'll want to turn it inside out first.

Take a shirt that fits you well and has sleeves and lay it over the top of your t-shirt, making sure to center it as perfectly as possible and line up the shoulder seams:

Take a pen or chalk and trace around the sides and along the bottom of the sleeve of your well-fitting shirt:

Cut along those lines, cutting through both layers of the shirt - one quick and easy way to do this to make sure the sleeves are the same width is to simply fold the t-shirt down the middle and cut the two sides and the sleeves together. I say this because when I first cut it, one sleeve was wider than the other and I had to go back and adjust it later:

Now simply take the whole thing over to your sewing machine and sew up along the sides, turning along with the underarm curve to follow the line:

And here's how it fits!

This isn't my very favorite way to do it, because as you can see, the existing shoulder seams end up sitting lower on your arms. This can be a cool look if it's what you're going for, but usually it's not what I'm going for. Either way, this is a quick and easy way to take a too-big shirt and make it juuuust right.
Slimming it down: Sewing without Sleeves
Probably my favorite way to resize a shirt is to remove the sleeves before taking in the sides.
Lay out your ginormous t-shirt:

Cut off the sleeves and set them aside, then turn the t-shirt inside out. Lay your well-fitting shirt on top, lining up the shoulder seams:

Using a pen or chalk, trace around the sides of the shirt only - don't worry about the sleeves, but trace the shirt all the way to the edge of your larger shirt. The mark should end somewhere in the space your sleeves occupied a moment ago.

You'll also want to go up to the top of the shirt and make small hash marks at the beginning and end of the shoulders of your well-fitting shirt. This will help you determine how wide the shoulders need to be cut.

Use your chalk to draw a curve between your OUTER shoulder marks and the point where the side line meets the edge of the shirt - follow the existing curve of the armhole to get an idea of the shape.
Then, cut out along all of those lines:

Sew up your side seams only and try it on - not only should it fit around your torso, but the tank sleeves you have left should be the proper width for your shoulders:

Slimming it down: Tying (NO SEW)
Don't feel like sewing, but have a shirt you need to slim down ASAP? Try this tying method.
Lay down your ridiculously-huge shirt:

Turn it inside out and cut the sleeves away. Then lay your well-fitting t-shirt on top, lining up the shoulder seams as above:

Trace around, and just as you did with the previous technique, connect the outside shoulder mark with the top of your side line to create a new curved armhole (ignore the v-shaped neck I drew in the photo below - I didn't end up using it!):

Now, instead of cutting along the lines, you'll want to instead cut straight down the side of the existing shirt, effectively cutting the bottom part into two identical pieces:

Use a pair of sharp scissors to cut from each edge right up to the line - in little tabs about an inch wide:


Now, take the first tab from the front and back and...tie them together! Tie using a double-knot and don't tie too tightly, because this method makes the new side seam bunch up and you'll need to be able to gently stretch it back out.
Once you've tied them all together, turn the shirt rightside out so that all of the little ends from your tying escapades are on the inside of the shirt, and you'll end up with something like this:


I have no idea what's wrong with the picture above - the more I tried to adjust the levels, the worse it got! But hopefully you can see that it gives a pretty cool almost braided effect on the side, and takes just a few minutes. You can do it while you're sitting on the couch!
The Waistband
This technique is less a "resize" and more a "hack". Instead of resizing the entire torso, you're just going to create a drop-waist waistband that fits you, and pleat the t-shirt to fit THAT as you reattach it to the bottom.
So, as before, take your t-shirt:

Inside out and cut off the sleeves...

Cut off the bottom 3" of the shirt:

And slide it over your hips until it's sitting comfortably at a point low on your waist. Pull it together so that it fits snugly and cut off the excess (where my fingers are in this picture):

Then sew the two short ends together (right sides together) and you now have a smaller waistband that fits you like a glove:

Put the seam you just sewed in the center back of the shirt:

And attach the shirt to the waistband, pleating as you go. In order to get an even pleating all around, I pin it in the center back, then the center front. Then I pin on each side. This essentially divides the waistband into four equally-sized pieces, which you can then pleat and pin at will.
Sew around the waistband carefully, and...
Voila! A banded shirt!
You can wear the band high with the t-shirt bubbling over the top:

Or you can wear it low in a fashionably drop-waisted style:

Lengthening the Shirt: Mid Panel
Sometimes what your shirt needs (whether you've taken it in or not) is to be made longer. I run into this problem a lot because I guess I have a long torso or something. In any case, a lot of online tutorials will recommend adding a panel from another t-shirt or a scrap of lace or jersey to the bottom. However, I find that this looks too much like a deliberate effort to make the shirt longer...it "looks" DIY.
That's why I prefer to add a step and stick that panel in the middle of my shirt.
Cut the bottom 6" or so off of another t-shirt. Cut away the bottom hem, if there is one.

Now on your shirt that needs added length, cut away the bottom 3":

Place the contrasting t-shirt panel at the bottom of your main shirt:

Then add the piece you cut away to the bottom of that:

Cut each additional panel so that it follows the natural shape of your t-shirt:

Then sew together - simply pin the edges of each panel, right sides together, and stitch around. You can also turn each new panel right side out and "tuck" it into the piece you're sewing it to. Line up the edges and sew, then turn the new panel back out.
You'll end up with something like this:

That fits great and looks more like a design element than a "quick fix"!

The Tube Top
I'm gonna be honest: I am not a fan of tube tops. I never wear them. But I've always wondered...how would I go about making one in the best possible way? It's deceptively challenging, but I think I came up with a good method.
Take your t-shirt:

Turn it inside out and fold it directly in half, making sure there isn't any major wrinkling in the layers:

Then fold it in half again the other way, making sure your folded edges are lined up as straight as possible:


Now using sharp scissors, cut straight up, just inside the armhole seam:

Lay out your shirt sideways:

And fold it in half lengthwise again, with the front of your collar on the outside of the fold:

Now cut straight up, just inside the collar:

And you have a pretty good rectangle going!

Sew straight up the sides, and turn right side out for a pretty decent tube top!


So there you have it! Six different methods for resizing a t-shirt. Any one of these methods could suffice on their own as a t-shirt reconstruction. But you know me... I NEVER STOP THERE.
Stay tuned, because tomorrow we're going to tackle Necklines...
Have a happy Tuesday!
XOXO
No comments:
Post a Comment